Avalanche Course in Norway
Avalanche Course in Norway
– A Trip with Challenges and Solutions
Diabetes does not have to be a barrier to obtaining technically demanding outdoor certifications. At the beginning of February, I embarked on a four-day avalanche course in Norway. The goal was to improve my ability to read and interpret avalanche conditions, allowing me to undertake ski touring trips either alone or with a partner – always with safety as the top priority.
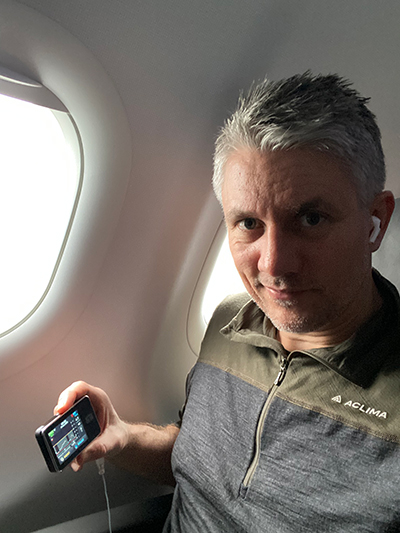
To get to Norway, I chose to fly, as it was a more economical option than driving. However, the flight started with a minor challenge – I accidentally sat on my CGM sensor, causing it to loosen and fail. As soon as I picked up my rental car upon arrival, I had to quickly get to the back of the car and replace the sensor. Whether this was an omen for the rest of the trip, I don’t know, but at least I managed to change my sensor and was ready to move on.

To ensure my diabetes equipment functioned optimally during the course, I had to carefully plan its placement. I chose to place my new CGM sensor under my left arm. My insulin pump infusion set was placed on the right side of my abdomen. This setup was strategically chosen because, during the avalanche course, I also needed to carry an avalanche transceiver, which is traditionally worn on the left side of the body. I wanted to avoid any interference between my insulin pouch and the transceiver or create issues with my infusion set.
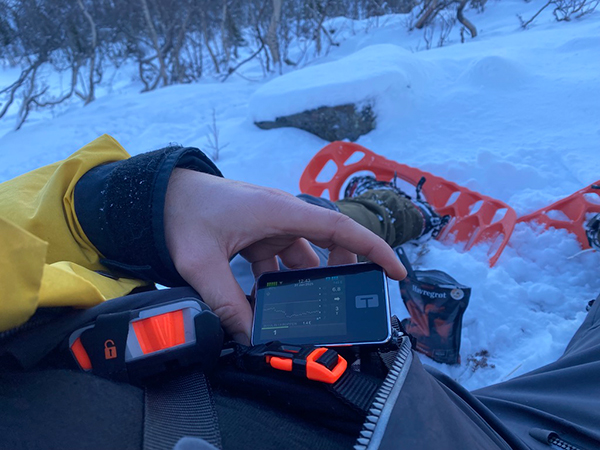
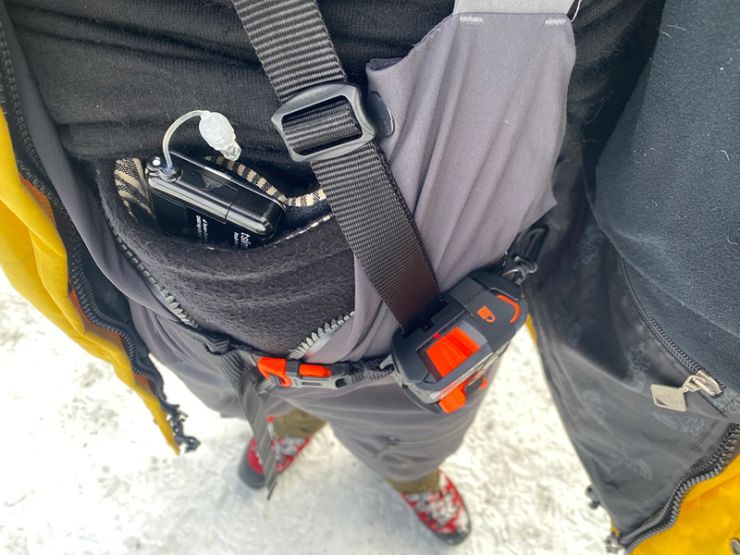
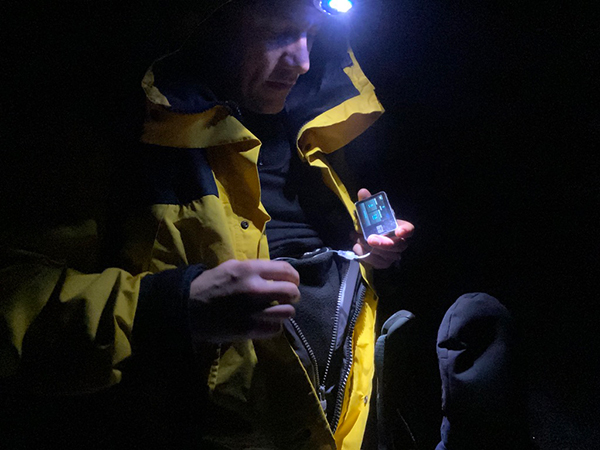
To optimize my insulin pump placement, I kept it in the chest-mounted pack. From there, the tubing could run up along my body. I chose to position the infusion set so the tubing pointed upward instead of downward. This way, I could route the tubing through the collar and into my pack. As seen in the pictures, this solution worked perfectly, and I am really pleased with my setup. It kept the tubing frost-free, and at no point was I worried about freezing.
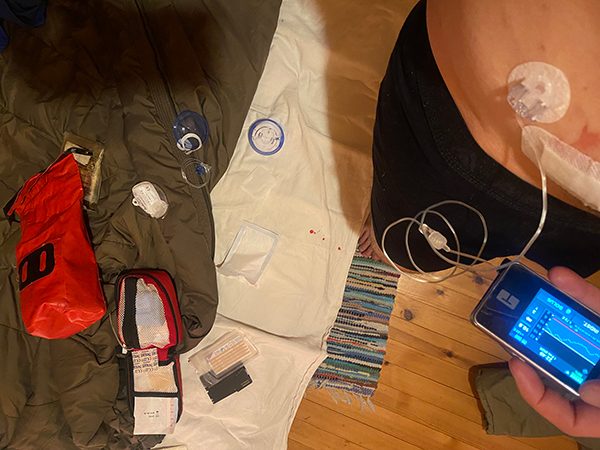
On the second evening, it was time to change my infusion set. As I inserted the needle into my skin, I immediately felt something was off – it hurt. I tried to ignore it and got into my sleeping bag, but the pain persisted. Eventually, I had to remove the set and place a new one. As I pulled off the old one, a stream of blood shot out, and I had to quickly press a finger against the wound while scrambling to find a large bandage with my other hand. I didn’t entirely avoid making a mess, but after a brief moment of chaos, I was finally able to settle back into my sleeping bag.
A Trip to Gaustatoppen
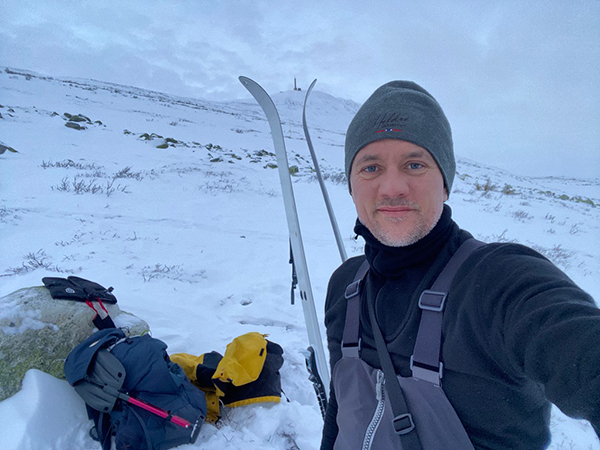
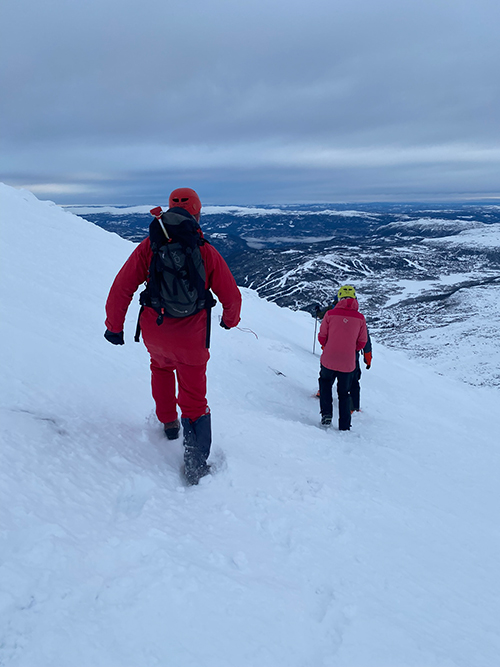
On day four, it was time for the big challenge – a trip up Gaustatoppen and a descent on backcountry skis. Gaustatoppen in Rjukan stands at 1,883 meters, and although backcountry skis resemble cross-country skis with steel edges, they are not particularly suited for downhill skiing. The task was not only to descend safely but also to plan the route with avalanche risk in mind and avoid potential avalanche run-out zones. The rocky surface and challenging snow conditions made the ski descent one of the toughest tasks of the course, but it was an invaluable experience where all avalanche theories and safety principles were put to the test.

Food on the Course
As standard equipment, I carried multiple packs of glucose tablets and muesli bars – both in my thigh pocket and chest pocket – ensuring I always had quick access to energy, even in extreme cold.
Read more about the food in the very cold areas
I experienced two alarms during the trip, both occurring during intense physical exertion. Fortunately, my glucose supplies were well-placed and worked exactly as planned. I also had an extra supply in my backpack in case of emergency.

In cold environments, I only carry solid glucose sources. Juice and gels freeze quickly and become unusable, and even vacuum-packed rye bread stored in my chest pocket has frozen solid and needed to be thawed like ice.
For lunch, I opted for freeze-dried meal packs, as they are lightweight and allow me to accurately calculate carbohydrate intake. Additionally, having a hot meal in the snow was a welcome comfort.
First Cold Adventure with an Insulin Pump
As previously described, my setup worked really well, with the pump stored in the specially made pouch I had customized for my Svalbard trip last year. Perhaps the pouch was a bit large for the small pump, and smaller alternatives could likely be found, but it worked fine.
To ensure I could hear the alarms, I connected my phone to the sensor, as it was difficult to hear the pump’s alerts when it was inside the pouch and under two layers of wool clothing.
During physically demanding sections, such as the two-hour crossing over the mountain, I switched my pump to the exercise profile, which worked excellently. It maintained stable blood sugar levels, and I only went above my personal red line, set at 12.5 mmol, a few times.
Course Completion and Future Adventures
I passed the course. Not that it was difficult to pass, but I now feel much better equipped to make informed decisions regarding route selection and to identify dangerous areas that I, as a skier, should avoid. If an accident were to occur, I now have the tools to locate individuals and groups in an avalanche. Now, new adventures await with ski touring and randonée skiing!
More about this trip - read here
Projects
Empowering Adventures: Thriving with Diabetes
"We believe that diabetes should not prevent you from experiencing the world to the fullest. From climbing mountain peaks to exploring the most remote areas, our community is here to fuel your passion with motivation and practical advice."